


Log In

Price: $9.67
This item is temporarily out of stock. The expected available to ship date is 07/17/2025
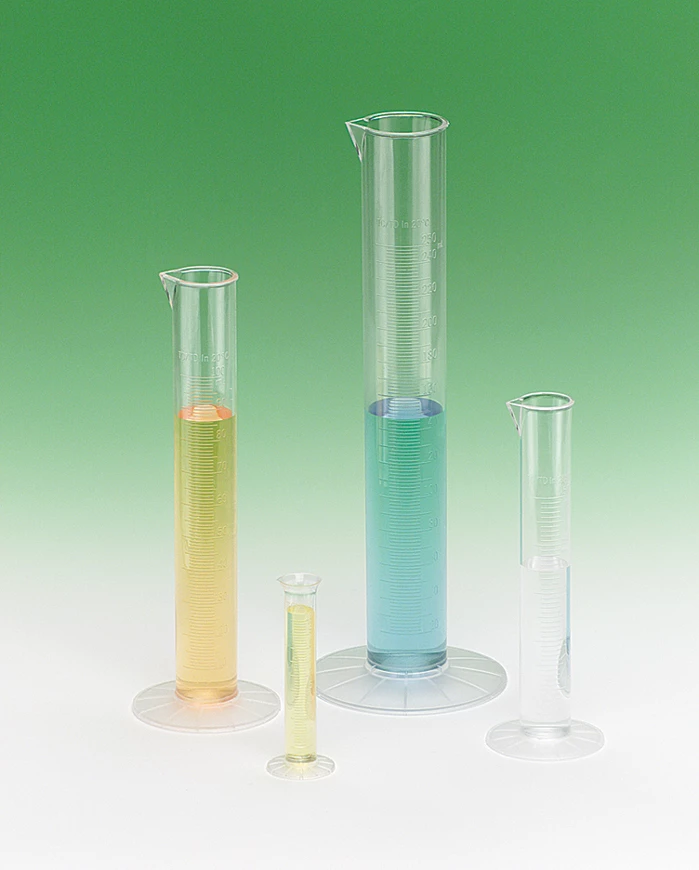
Graduated Cylinders, Polymethylpentene
Polymethylpentene plastic is almost as clear as glass. It is very strong and will resist breaking after frequent impacts. Generally, the chemical resistance is outstanding except in the presence of very strong oxidizing agents. Prolonged exposure to hydrocarbons will cause the plastic to cloud. These graduated cylinders are precision molded and usable to 175 ºC. You will find these graduated cylinders worth the investment. To reduce breakage, plasticware provides a durable alternative to glassware, especially for young students. While Graduated Cylinders, Polymethylpentene do not provide the same chemical and heat resistance as glass, it is a cost-effective alternative in some applications.
A graduated cylinder is a cylindrical vessel with a narrow, uniform diameter that features volume markings along its side. These markings typically represent milliliters (mL) or cubic centimeters (cm³). It's designed to provide precise measurements of the volume of liquids. This invaluable tool allows scientists and students alike to measure, mix, and pour liquids with precision, making it a cornerstone of almost any school science laboratory.
Graduated Cylinder Parts
Before we dive into how to use a graduated cylinder effectively, let's familiarize ourselves with its key components:
Base: The flat bottom of the cylinder ensures stability when placed on a level surface.
Body: This is the main part of the cylinder, where volume measurements are taken. It is usually made of transparent material like glass or plastic.
Spout: The spout facilitates controlled pouring of liquids, minimizing the risk of spillage.
Meniscus: This is a crucial element we'll discuss in detail later. It's the curved upper surface of the liquid inside the cylinder, and it's where you'll read the volume.
How to Read Measurements on a Graduated Cylinder
Reading measurements on a graduated cylinder may seem daunting at first, but with practice, it becomes second nature. Here's a step-by-step guide for high school students and teachers:
Step 1: Prepare the Graduated Cylinder
Start by selecting the appropriate graduated cylinder for your task. High school labs typically have cylinders with various volume capacities, such as 10 mL, 25 mL, 50 mL, 100 mL, and 250 mL.
Clean the cylinder to ensure accurate readings. Any residue on the walls can affect measurements.
Step 2: Fill the Graduated Cylinder
Pour the liquid you want to measure into the graduated cylinder. Use a funnel if necessary to avoid spills.
Add the liquid carefully, allowing it to settle and minimize splashing.
Step 3: Identify the Meniscus
The meniscus is a critical concept in reading a graduated cylinder. It occurs due to the surface tension of the liquid, causing it to form a curve at the liquid's edges. To read measurements accurately, follow these steps:
Ensure the graduated cylinder is at eye level, with the cylinder's bottom resting on a level surface.
Gently squat or bend down to be at the same level as the meniscus. This perspective minimizes parallax errors, where the liquid level may appear higher or lower than it actually is.
Read the measurement at the lowest point of the meniscus. In most cases, the liquid will form a concave curve, and you should align the measurement with the bottom of this curve.
Step 4: Record the Measurement
After identifying the correct measurement on the graduated cylinder, record it in milliliters (mL) or cubic centimeters (cm³) as per your lab's requirements. Ensure you include the appropriate number of decimal places, typically to the nearest tenth of a milliliter.
Step 5: Handling Precise Measurements
If your experiment requires the utmost precision, use a dropper or a pipette to add or remove small amounts of liquid until you reach your desired volume. Graduated cylinders are excellent for initial measurements, but fine adjustments may require more accurate tools.